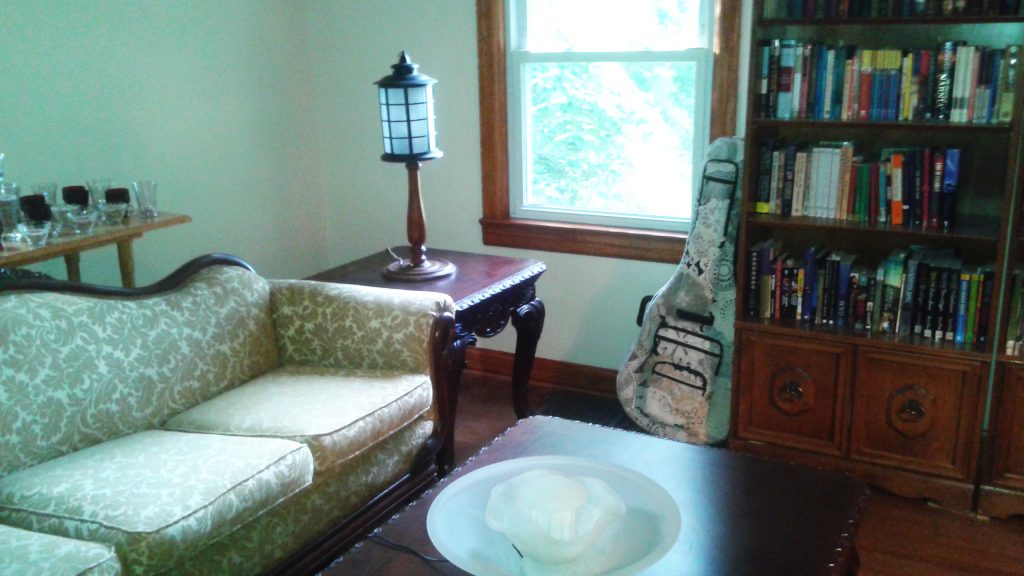
Some time back, I decided I wanted to learn how to play the guitar. It’s a pursuit that’s seen unfortunate periods of neglect… but that’s another story. 😉 This story starts when I searched for and purchased a lovely guitar, but then decided it was so lovely, it deserved a more protective case than the soft-sided gig bag I’d originally purchased for it.
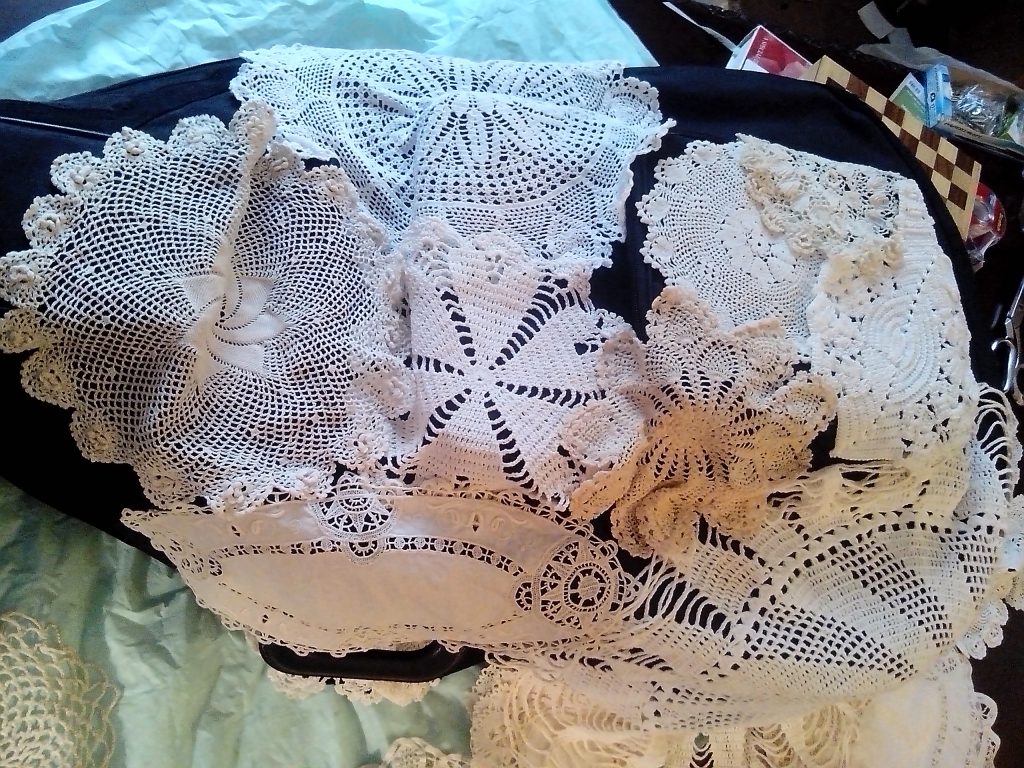
Then I ran across these chip-board cases for cheap on Craigslist (in the photos that follow, apologies for any poor image quality; I was often working with far less than ideal lighting):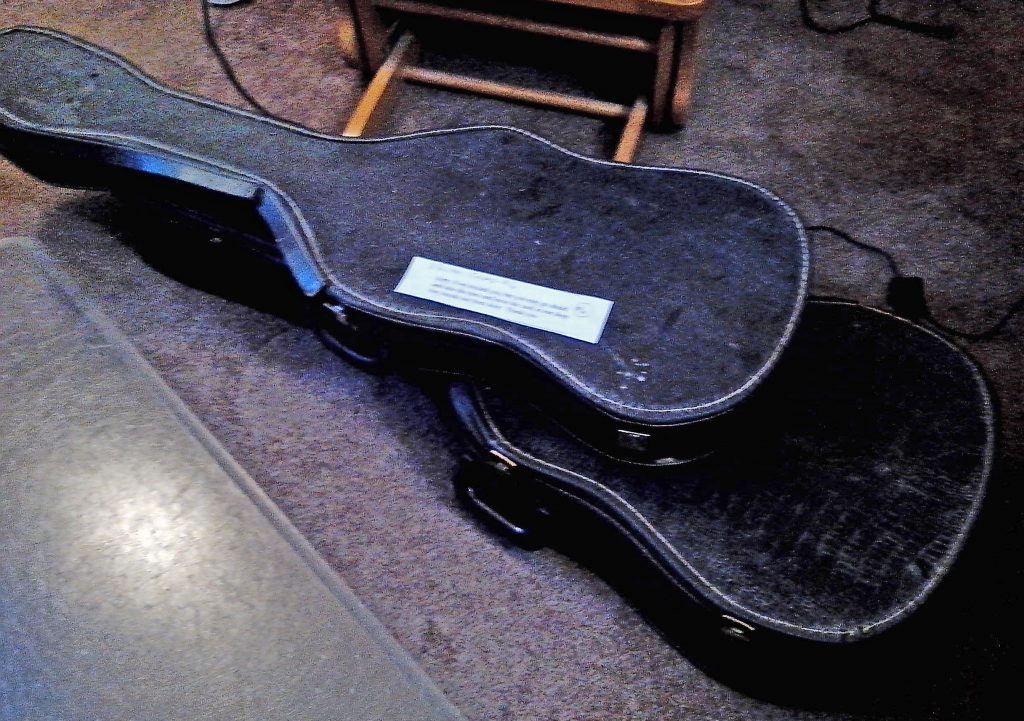 Far from perfect. Okay, let’s be honest: kind of ugly, really. And what in the world did I need with two? But I’d begun hatching this idea: what if I could combine the protection of the chipboard with the utility of the gig bag I’d purchased? After all, unlike most hard cases, the bag had several pockets around the outside for storage. And hmmm… I’d once known someone who’d had an instrument ruined because they were flying with it, had to bring it as checked baggage, and the airline left it with luggage sitting out in the rain. While I was at it, how well could I waterproof the case? And ooooh! Oooooooh! As it happened, I had a fair collection of lace doilies I’d purchased for use in my wedding that now needed a new use. What if I could cover the outside with doilies? Brilliant, right? (If you’re saying to yourself, “No, insane,” you’re correct, but we’re not to that part of the story yet. 😉 )
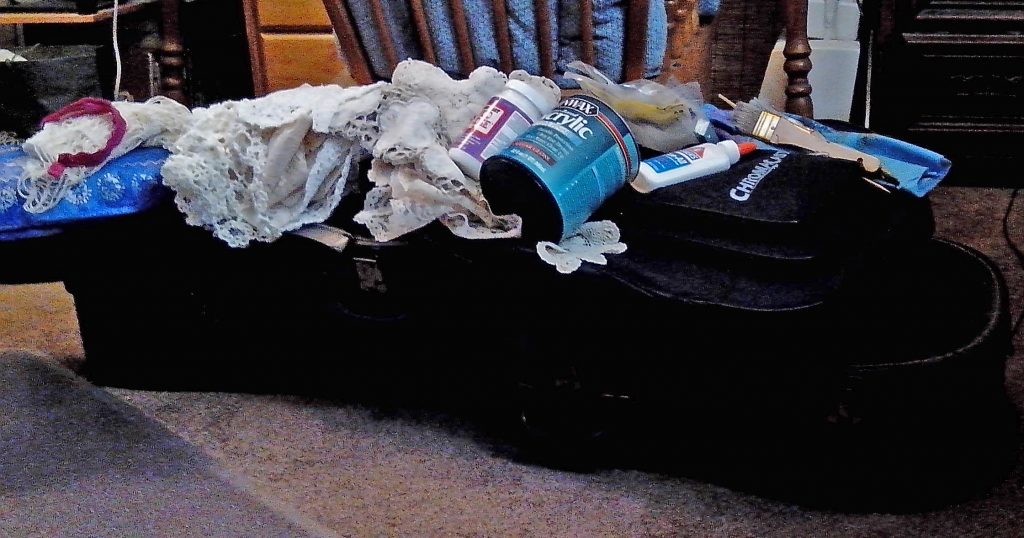
So I set about gathering my supplies. This isn’t a tutorial… because I would NEVER recommend trying to recreate the project exactly as I did it :-p … so I won’t list them. But I did take pictures: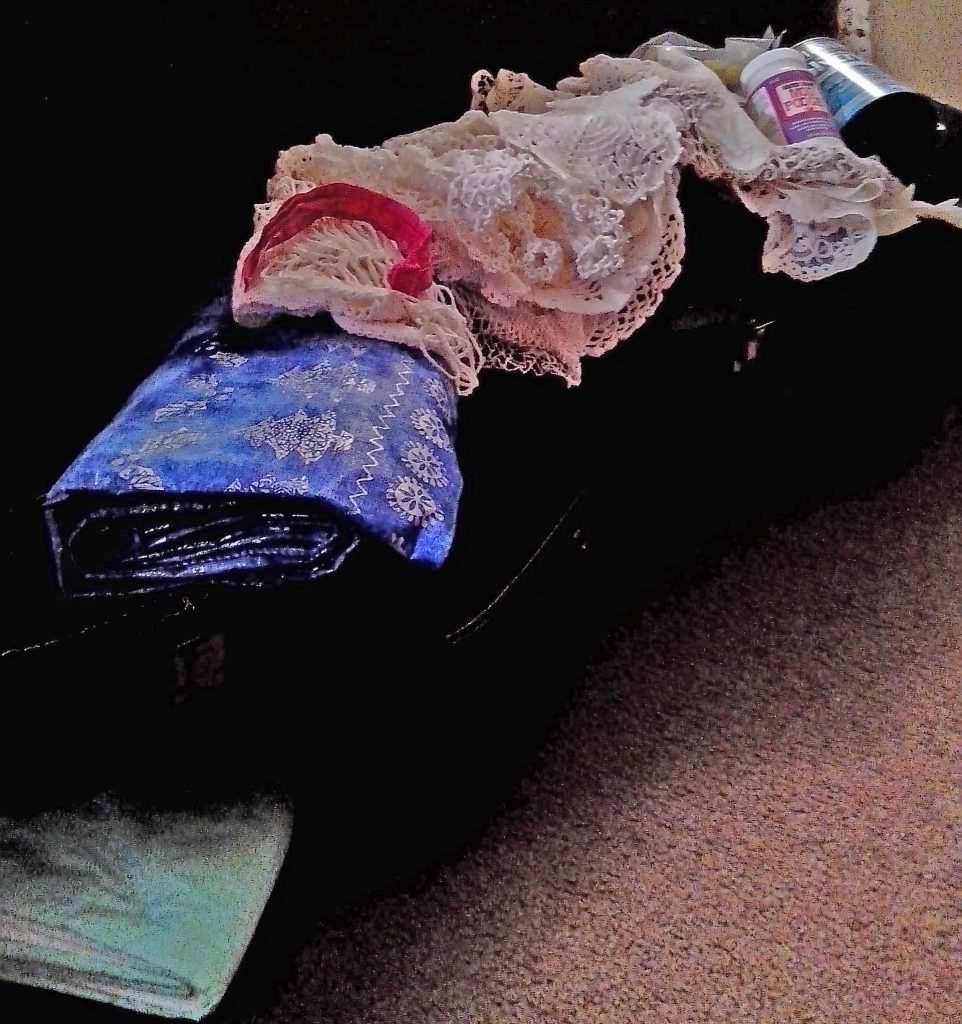
Next came the complete disassembly of all three guitar cases – the two chipboard cases and the soft-sided gig bag – followed by a fairly convoluted (hey, I was making it up as I went along! 😉 ) process of reassembly. The first step of this process involved essentially rebuilding the chipboard pieces into a single, reinforced, and slightly larger framework: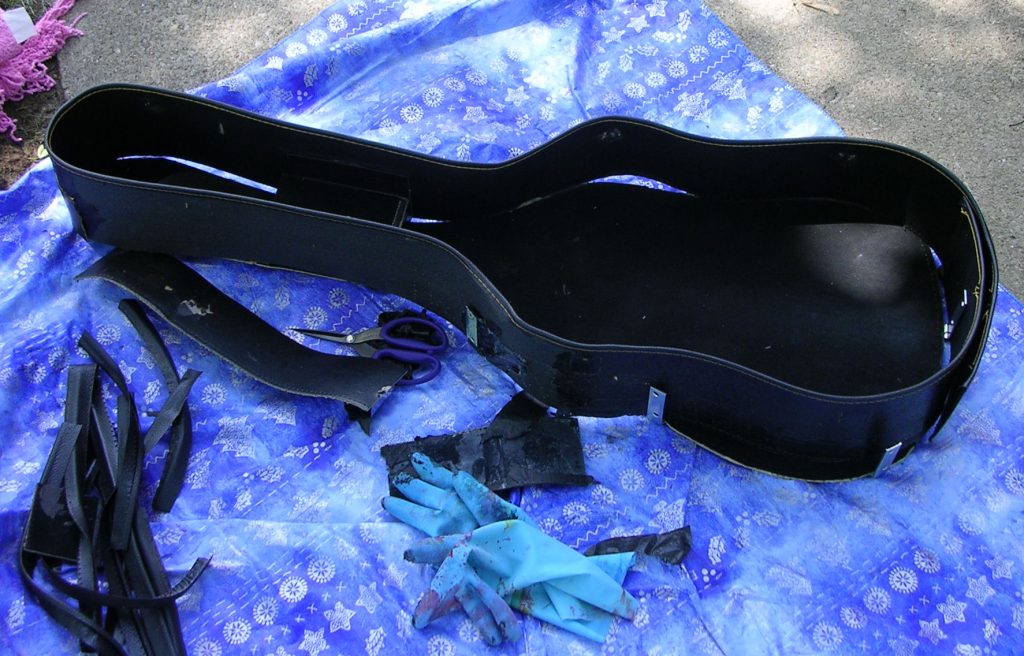
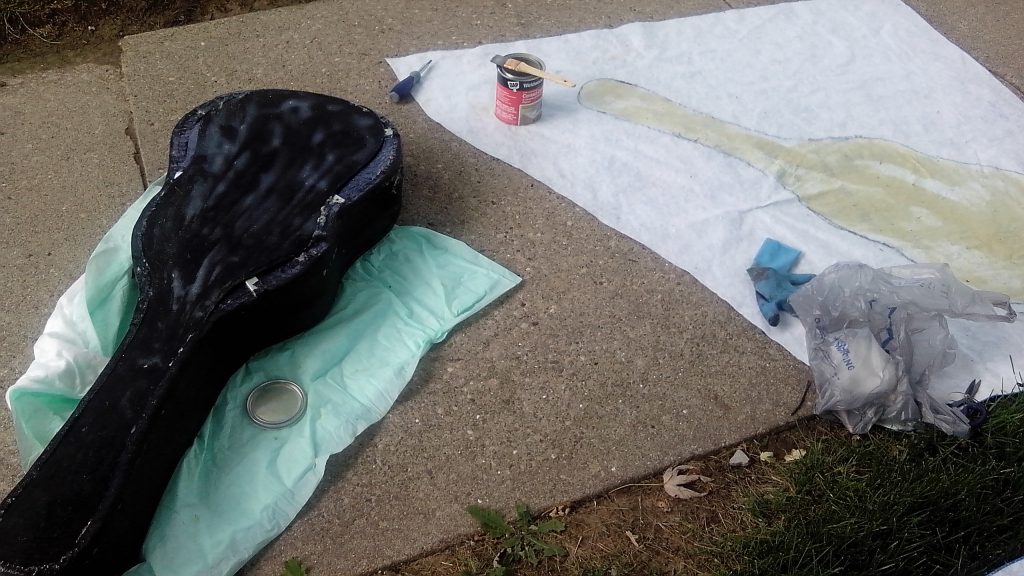
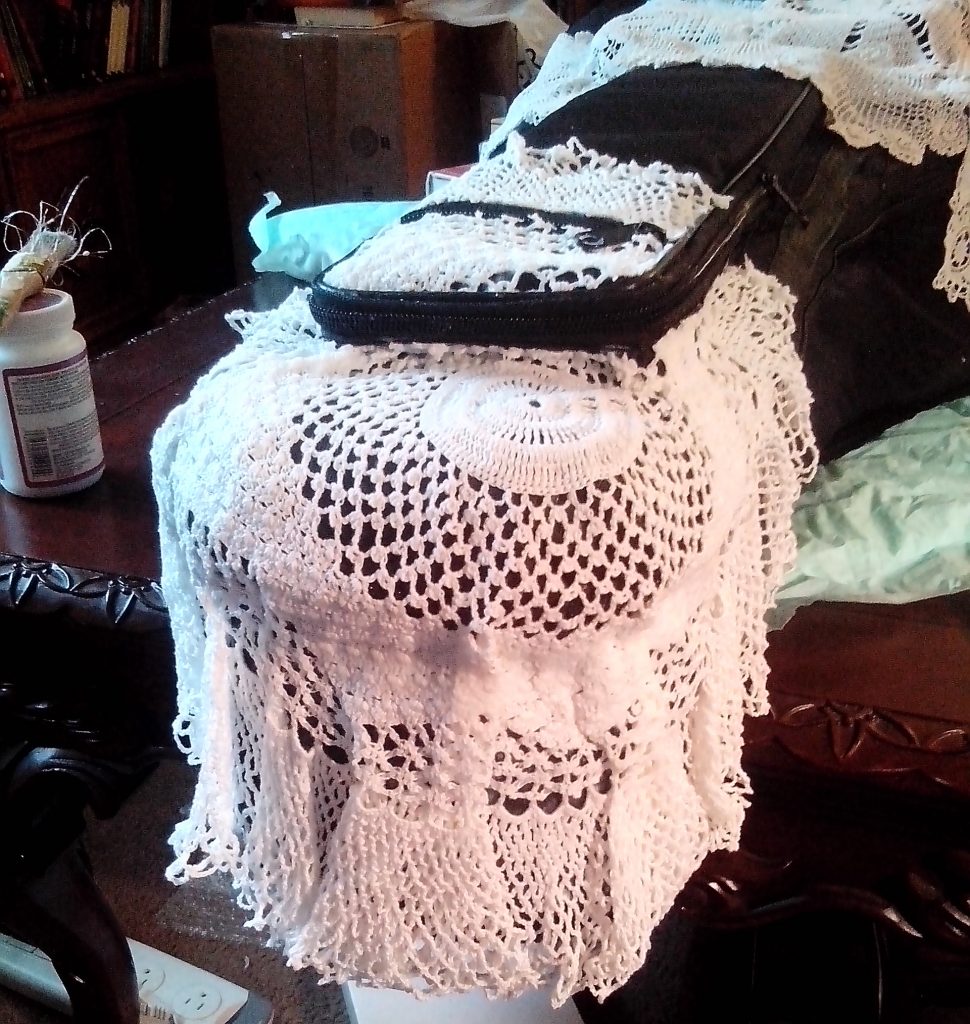
Next, I covered that in an old tablecloth, both to help connect everything and in hopes of introducing something of a water-resistant barrier:
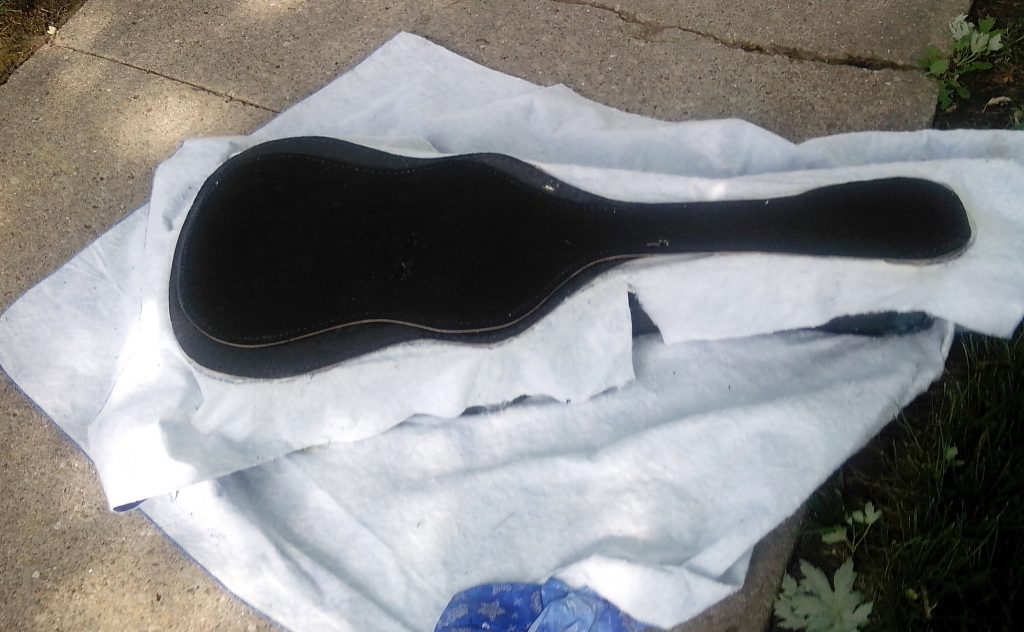
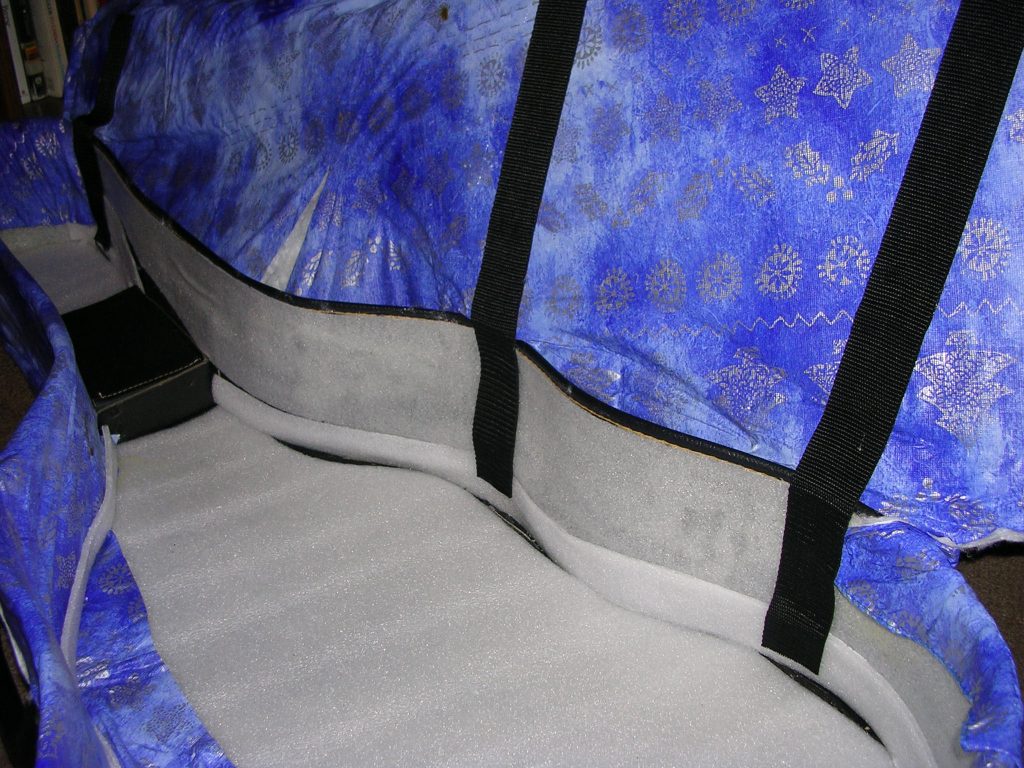
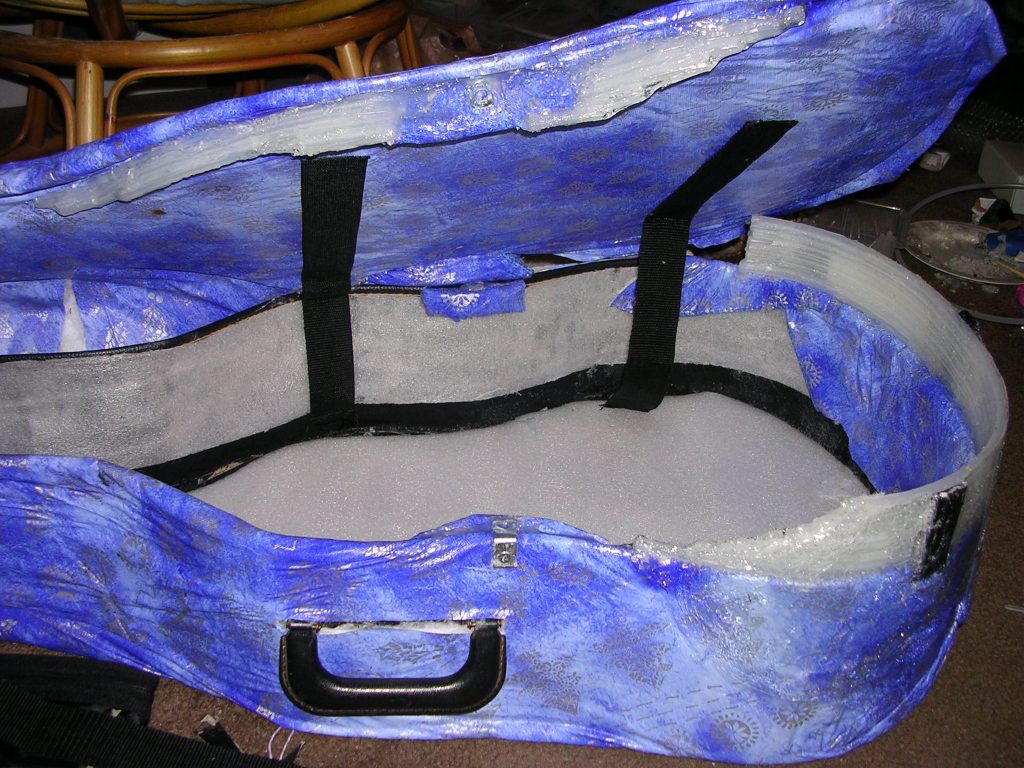
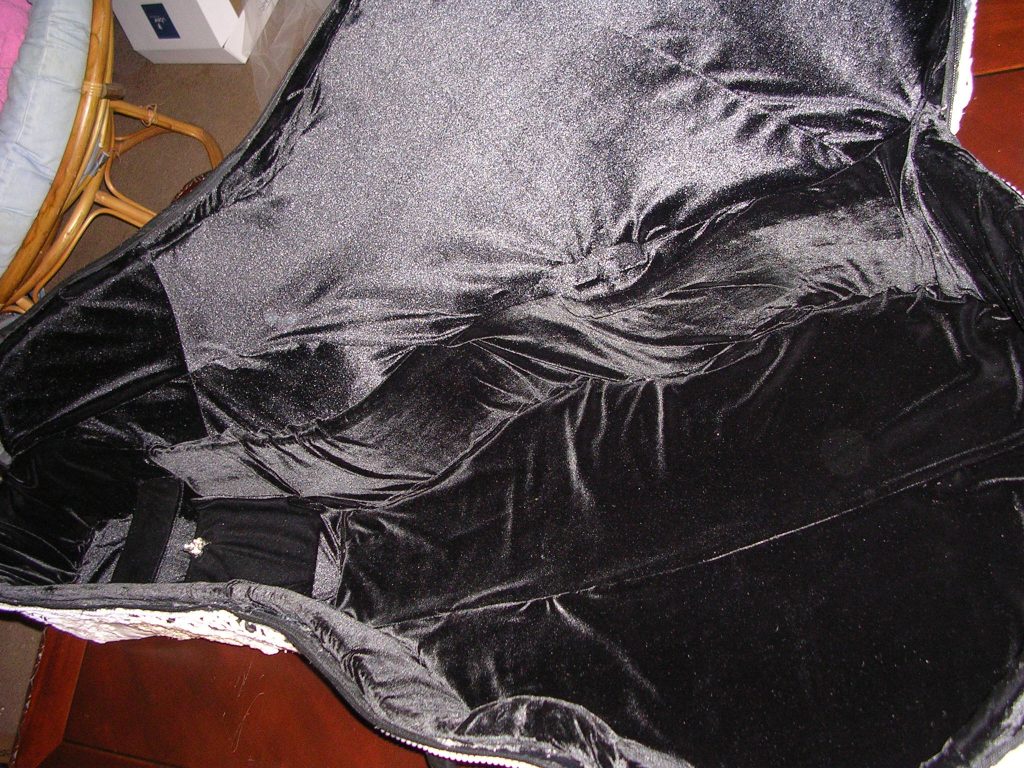
From there, I proceeded to line the interior with some foam padding and reinforce the hinge-points:
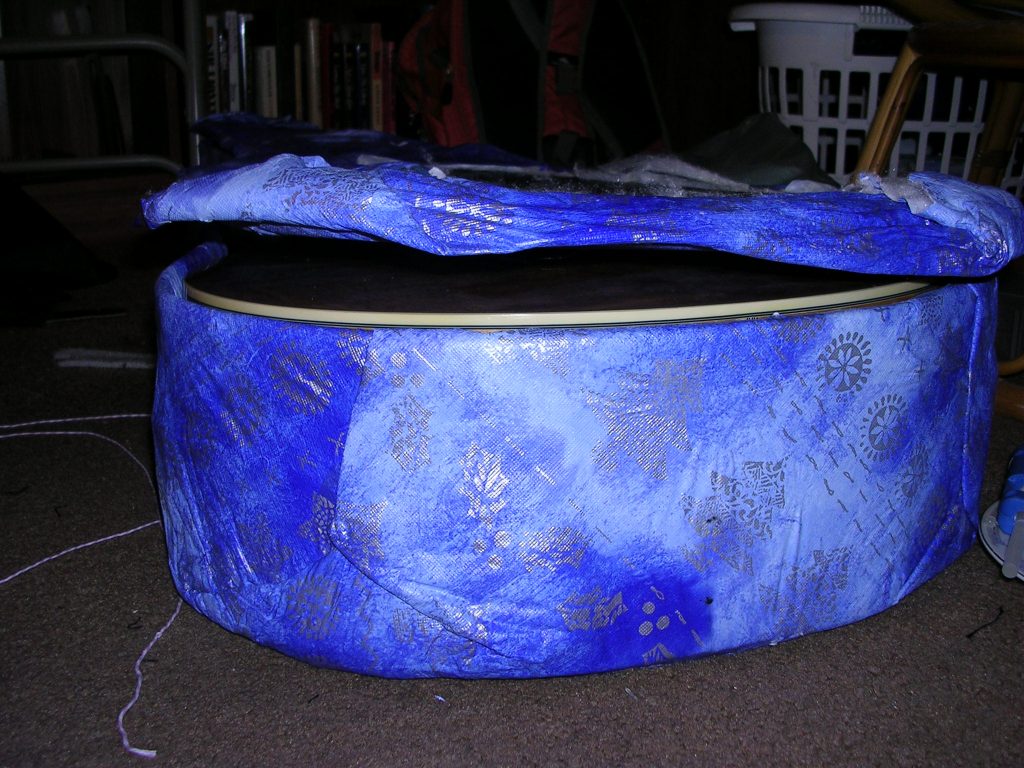
And then I tested the fit… only to discover that the bottom of the guitar was deeper than my case, and the lid wouldn’t actually close!
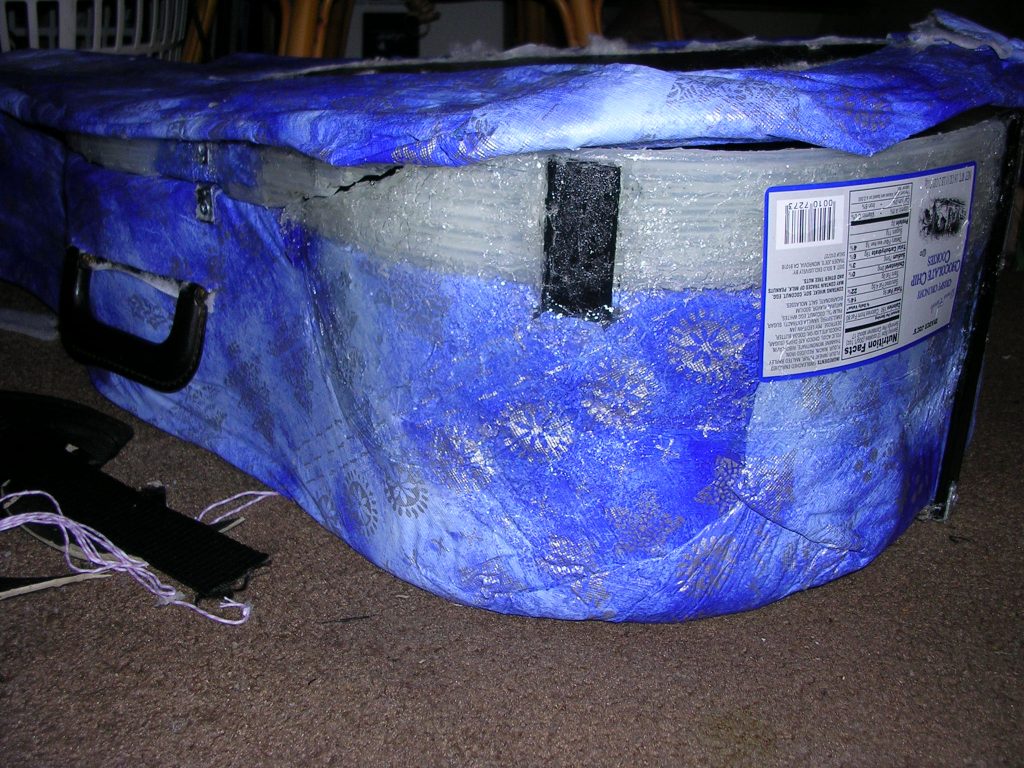
Time to troubleshoot. I ended up using various additional materials – both purchased and scraps – to create spacers that would add depth to the bottom portion of the case:
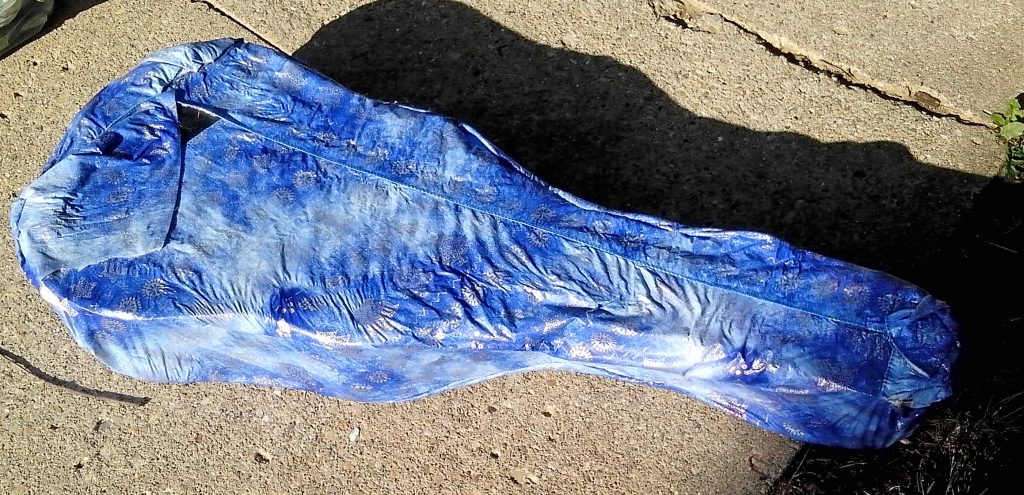
After this came the process of sewing the fabric case back together so it would fit around the hard interior I’d created. As it happens, I don’t seem to have many pictures of that part of the process. It’s almost as though I’d begun growing too impatient for the thing to be done to bother with pictures. Or as though, around that point, I began to realize the insanity I mentioned at the beginning, but had by then spent far too much time (not to mention money, mostly on glue :-p ) to abandon the project. We’ll leave it as anyone’s guess. 😉 At any rate, that part of the process came, and it passed. And finally I came to one of the last steps: covering the whole with my collection of doilies, and mod-podging them in place:
Finishing touches followed, of course – there are always finishing touches. But at long last (we won’t talk about how long. No, seriously, let’s not. I can’t remember, anyway. Lalalala – I can’t hear you! 😉 ), everything was finished. So without further ado (because surely the process of making it involved quite enough of that 😉 ), the final product:
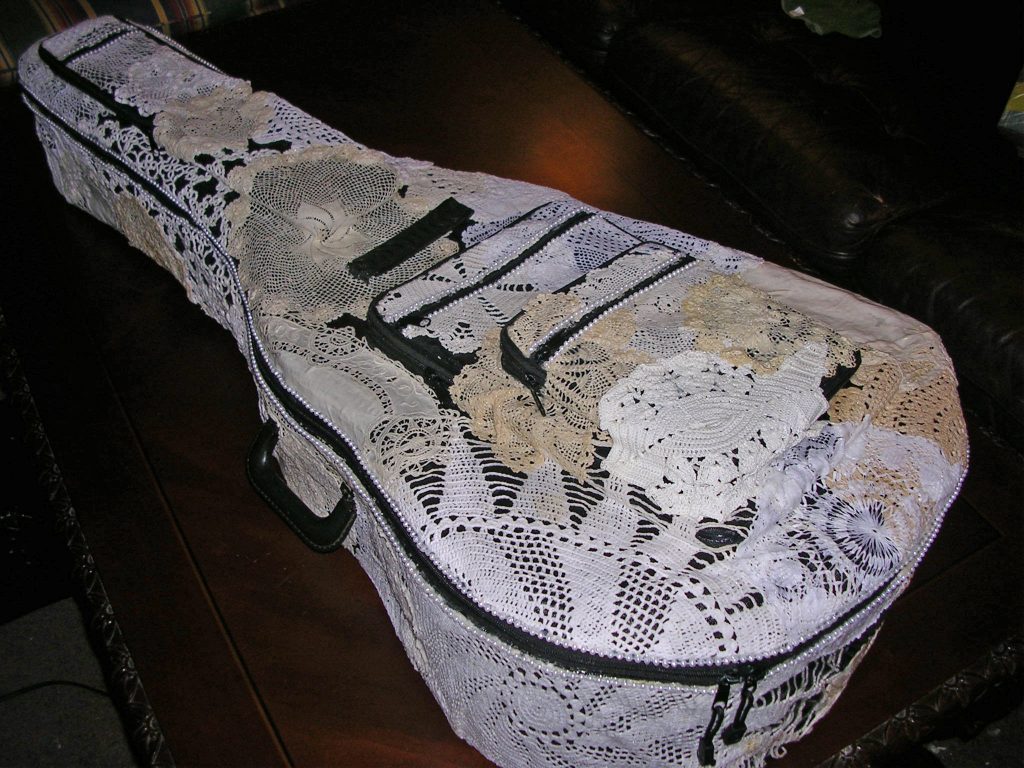
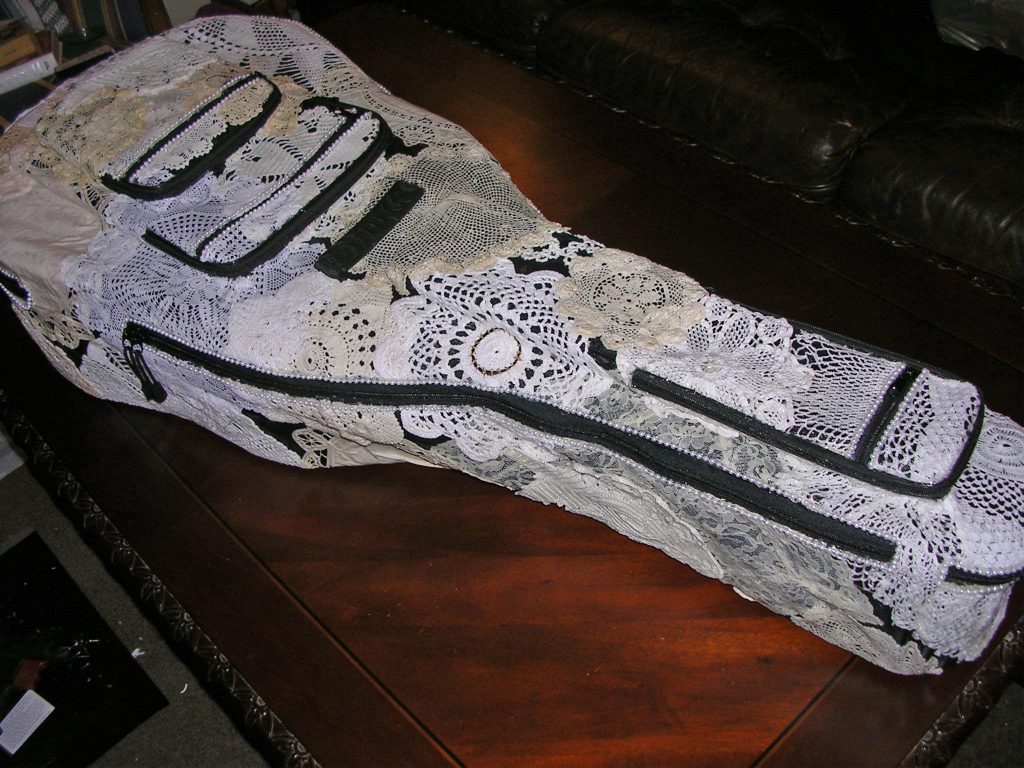
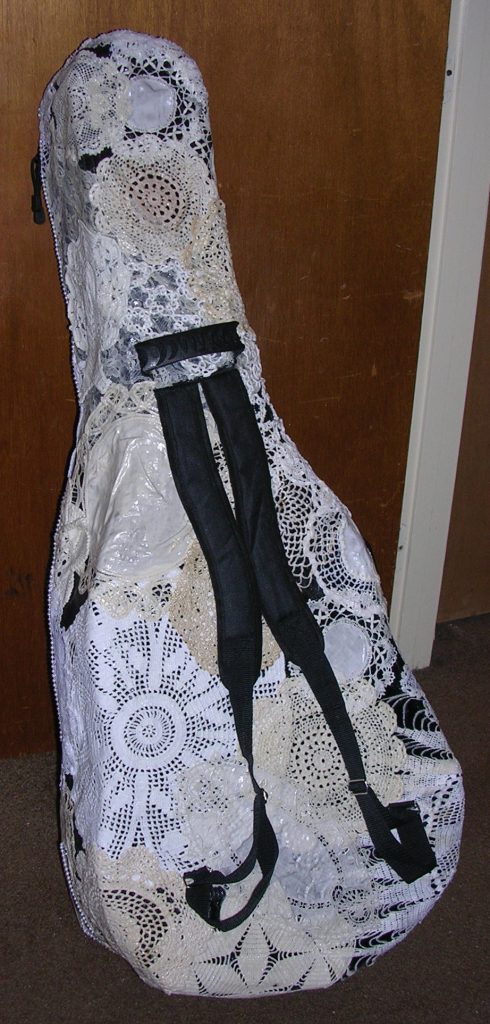
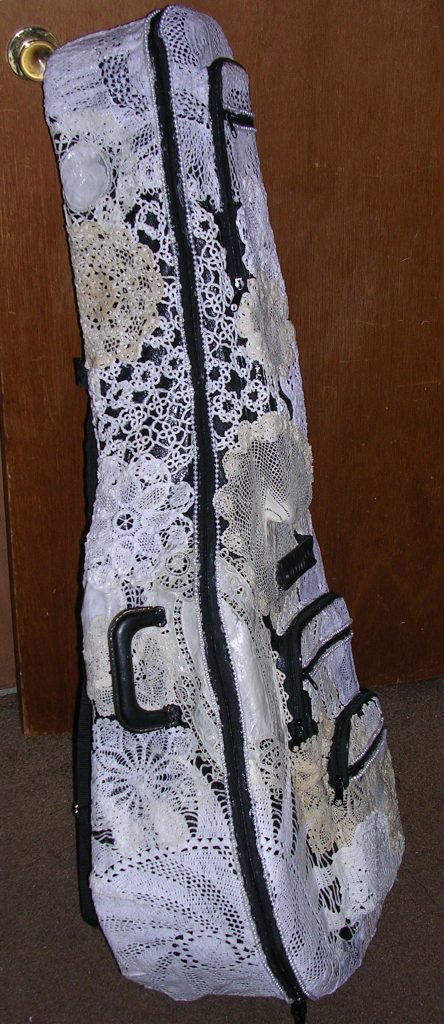
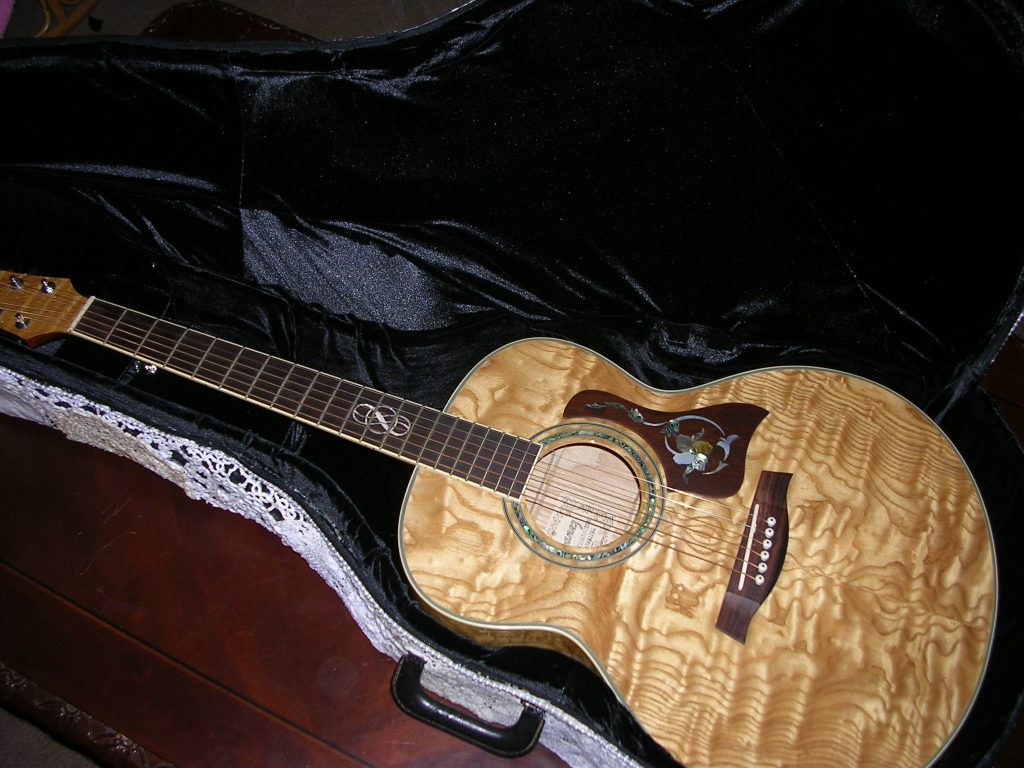
Finally, after all of that, I had a lovely home for my lovely guitar:
I really am proud of how it turned out, though if I had it to do again, I… well, I’d like to say I just wouldn’t, but let’s be honest with ourselves, here: I probably would. :-p I would also, however, do it differently. Put simply, instead of trying to build my own hard framework out of “inexpensive” materials, I’d probably just buy a proper, sturdy hard-shell case, and then alter a gig bag to fit outside it if I really wanted the pockets and handles that would provide. It would probably be easier, and in the long run, it might even be cheaper: I don’t know how much I spent on glue for this thing, and frankly, I don’t want to. :-p And speaking of all that glue, I also don’t know how much it weighs, and that’s another thing I probably don’t want to know. 😉 It’s certainly not convenient to carry. I’ll probably never have occasion to test my attempted waterproofing measures, if for no other reason than that the thing is far too heavy to want to carry it much of anywhere, let alone through any conditions in which it might get wet!
But hey, it certainly looks gorgeous in my parlor. And what more could I ask than that, right? 😉